In the world of web search, Google reigns supreme. They’re the be-all and end-all of desktop search, with over 90% of the market share. And, while their position is slowly deteriorating, it will be a long time before they’re no longer number one.
That said, in the world of mobile search and, more importantly, navigation, Google has stiff competition. Google Maps is powerful, and map listings are essential to maintaining a solid web presence. However, unlike desktops, mobile devices have a much more balanced dichotomy between two major players: Android (powered by Google) and Apple.
The iPhone is still among the most popular mobile devices. More importantly, Apple limits what apps can be installed on most devices, and Google’s services are not typically easily obtainable. They provide their own alternatives, like Apple Maps. That way, iPhone users can use an Apple service for navigation instead of relying on a competitor’s map.
What this means is that, for a local business that relies on in-person traffic, Google is not enough. You need to fill out and maintain an Apple Maps profile and listing as well.
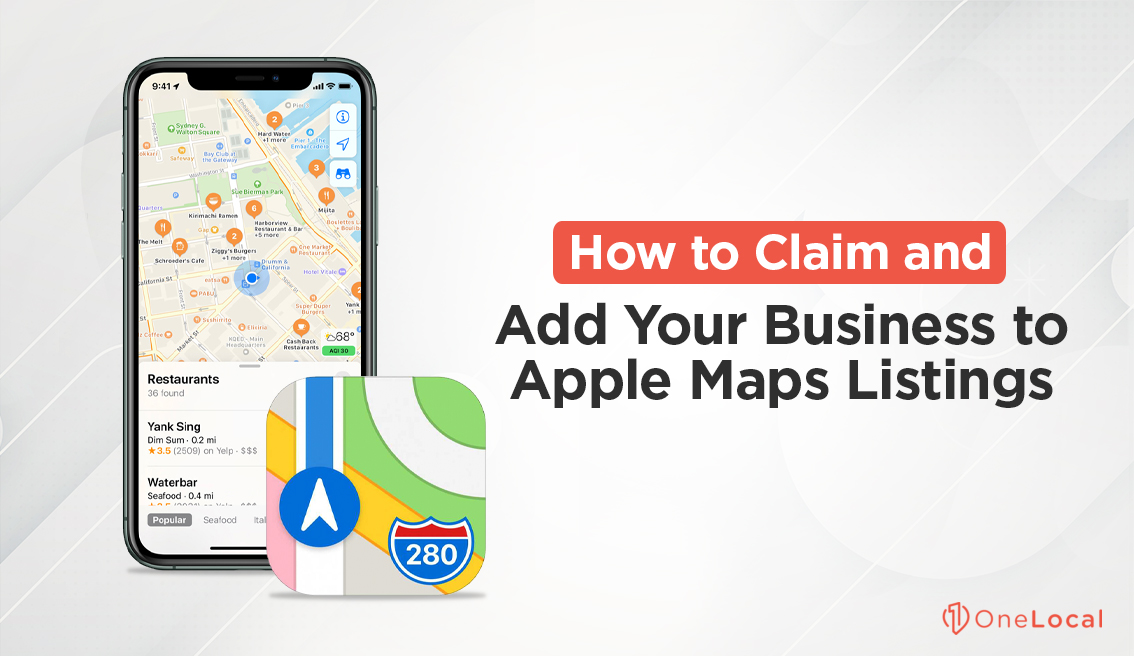
Some time ago, we provided a tutorial for creating and filling out a Google Business Profile listing. Today, we’re going to do the same thing for Apple’s map and local listing service.
Step 1: Gather Your Information
Just like with a Google Business Profile listing, or a listing on Yelp or another business profile platform, you need to have complete and accurate information available to you. You want to ensure that your information, including business name, address, and contact information, is identical across all platforms.
When we say identical, we mean identical. Even minor differences, such as whether or not you put a 1 in front of your phone number for country code or whether you write “Ste.” or “Suite” as part of your business address, can be significant. In particular, other data aggregators that scrape primary sources like Google, Apple, and your website, might get confused at slightly different information. You can end up with misattributed listings, duplicate listings, or just less focused local search results.
So, what should you gather?
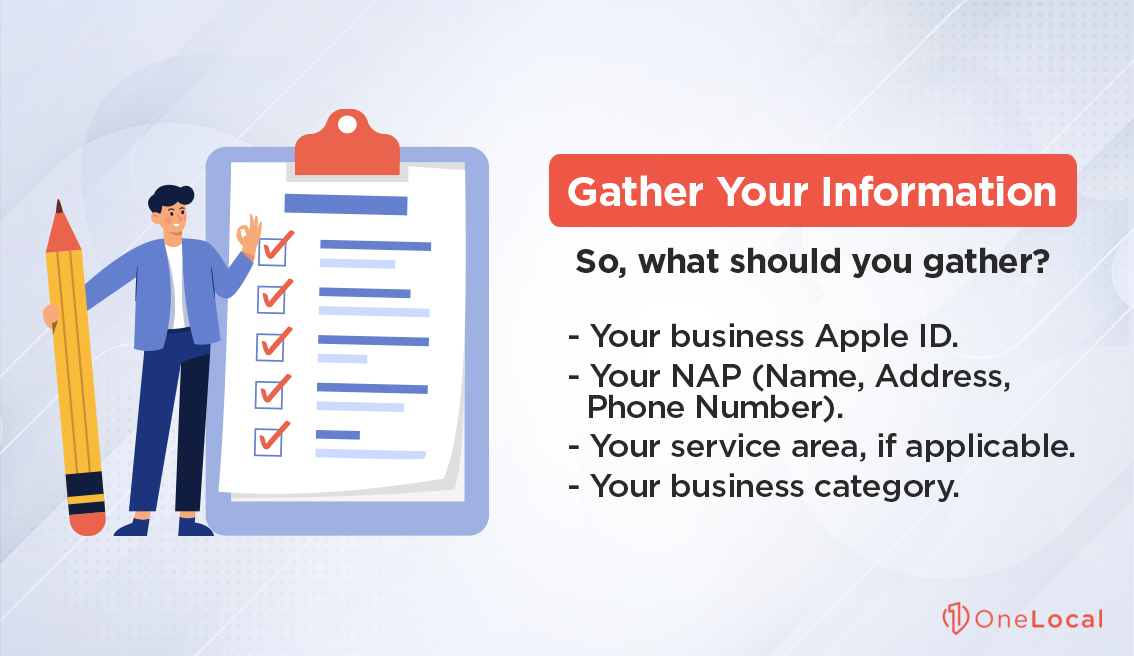
- Your business Apple ID, if you have one already.
- Your NAP (Name, Address, Phone Number) and other relevant information, formatted identically to other uses online.
- Your service area, if applicable.
- Your business category.
As with Google, your most important piece of information is an accurate business name.
Step 2: Visit Places on Maps
“Places on Maps” is the new official name of Apple Maps and its business services. Formerly, it was known as MapsConnect. You can find the homepage of the service here.
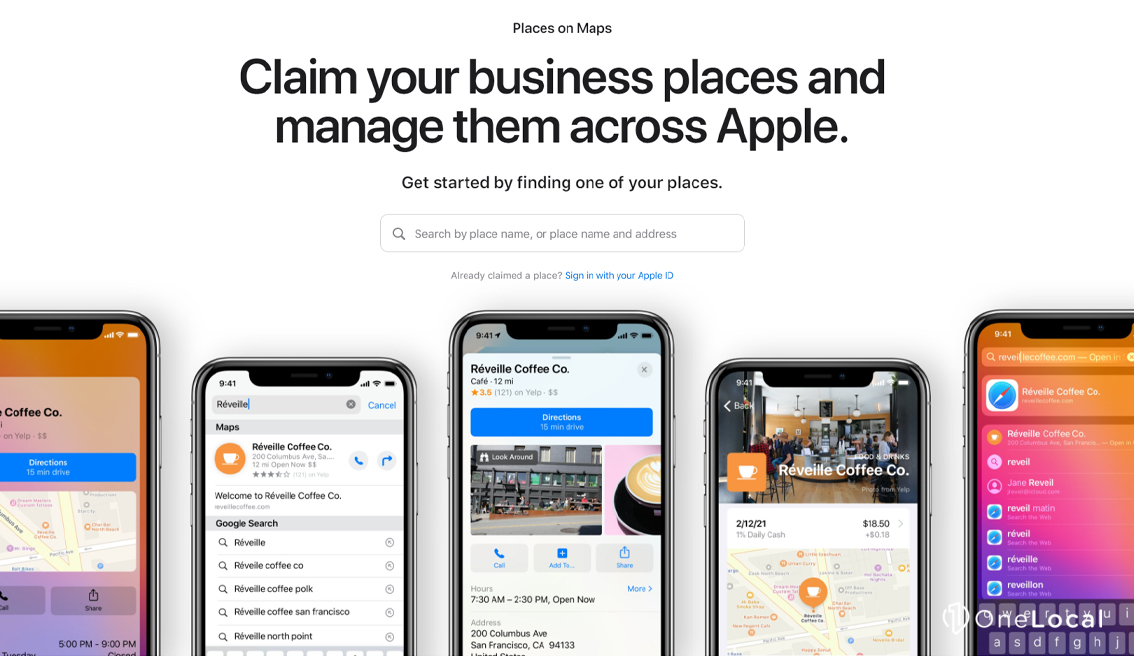
On this page, you will be presented with a search box. Type the name of your business in the box and see if anything comes up. Typically, one of four possibilities can occur.
- Your business appears. This means someone in your organization, at some time in the past, added your business to Apple’s services. This may have been part of an automatic process on Apple’s part, or it may have been someone manually adding you later.
- Your business appears incorrectly. This may mean that someone else created a profile for you, either well-meaning but troublesome, or as an intentional way to scam you. Occasionally, fake listings are made just to add a website address to a scam site. Apple is generally pretty good at policing this, but it can still happen. You may be able to claim the listing or get it removed; more on that later.
- A similar business appears that may be yours. If Apple or someone in the past scraped information and added it to their database, they may have used incorrect information for your business. You may be able to claim the listing; more on that later.
- Nothing appears. If your business is not in Apple’s database, nothing will appear. Instead, you’ll see a link that says “+ Add a missing place.” You’ll want to click that.
In order to claim or edit a business listing, you will need to sign in with your Apple ID. If you don’t have a business Apple ID, you should register one. This help center article will walk you through the various methods you can use to register one if you’ve never worked with Apple services before.
Step 3: Add a Missing Place
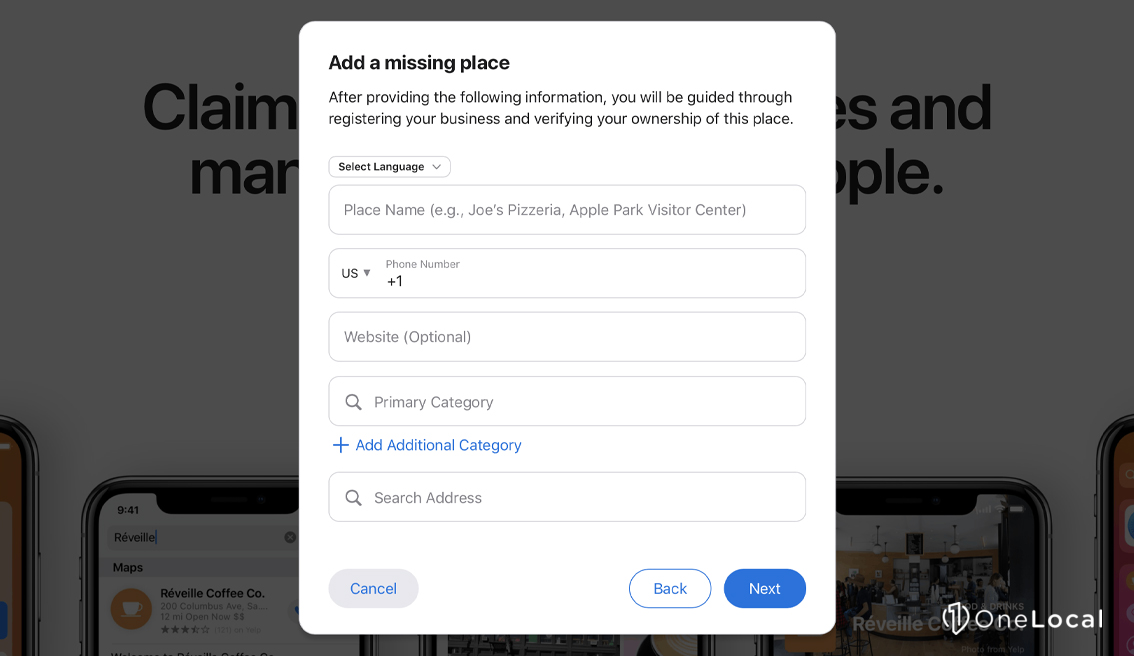
If your business is not listed, you need to add it. Click the “Add a missing place” link, and you will get taken to a form to fill out. This form asks you for:
- Your choice of language.
- Your business name.
- Your phone number, with country code as relevant.
- Your website URL. Make sure this is identical to the URL, including whether or not you include www., that you use elsewhere.
- Primary and secondary categories. Categories can be things like Professional Services or much more specific like Boat Racing Area or Meditation Center. There are over 1,700 categories to choose from, so pick the handful that best describe your business.
- Your business address. Again, make sure this is identical to addresses on other platforms.
That’s it; everything else you add later, once you’ve verified your profile. Note that if you have a business with multiple physical locations (like having two offices in town or offices in two different cities), you will need to claim each of them separately. Apple Maps works on an address basis, not a business name basis.
Step 4: Verify
You need to verify that you own or control the business, naturally, so Apple will attempt verification. In your Apple Business Dashboard, you will see the business listing and a large blue button saying “Verify.” Click that.
Here, Apple will ask for specific information about your business, though a lot of it is optional and may not be relevant to you. You specifically need your business name, phone number, and address. Other information you can provide includes a D-U-N-S number and your website address.
At this point, your next step is phone verification. If you’re not currently in a position to answer your business phone number, you should wait until you are. Apple will give you a button with your phone number and, when you click it, will call you with a robot service. That service will deliver a 4-digit pin to you, which you input to verify that you have access to the business phone number.
If you do not have or cannot receive a call from your business phone number in this way, you can request a manual verification. Manual verification requires you to upload a scanned document that proves ownership of the business. Documents include things like a lease agreement, utility bill, or insurance policy. Essentially, it needs to be documentation that proves your business is a real place that exists.
Manual verification requires an actual human at Apple to review your documentation and could take up to five days to process. Phone verification is immediate, making it a much better option.
If for some reason, neither of these verification options works for you, you may not be able to claim an Apple business profile. They don’t provide any other options. You can try contacting their business customer service, but it’s a long shot, so you might not want to get your hopes up.
Claiming an Existing Business
If there’s already a business listing for your business, you can attempt to claim it. Follow the same process as above. When you search for your business and find it, click the Claim button. You will then be asked to follow the same process to verify ownership as above.
It’s important to note that there seems to be very little available information for claiming a listing that is already claimed. If someone, somehow, was able to claim your business listing and attach it to another Apple ID (or, for instance, a previous owner or manager claimed it and the information was lost), you will likely have to contact Apple support directly.
Another thing that may be helpful, if you have access to an Apple ID that claimed the business, but you don’t want to keep using it, is to add a user and transfer permissions.
When logged into the Apple ID that controls the business listing, click on the options menu and click your organization. From there, click on the Members section. You can then choose a member type. There are three: Individual, which gives a person access to your organization; Contact, which designates a user to send notifications to but who cannot manage business information; and Organization, which is how you get companies like ours to have access to your business listing without needing to give us your Apple ID.
Once you pick the right one, you need to fill out the relevant information, which can be different depending on the type of user. You can then choose what kind of access to give them, between administrator (who can edit business information) and read-only. The user will be sent an invitation link to join your organization.
Controlling Your Business Information
Apple Maps is a much more limited platform than something like Google, especially regarding two critical aspects of a business listing: your information and reviews.
First of all, business information can be edited using the attached Apple ID. However, some information may be automatically updated, and the updates may be wrong. If that happens, what is going on?

The answer is the same as with reviews. Apple Maps has business reviews, but there’s no way to control them or leave your own reviews.
The truth is, Apple doesn’t host or manage most of that information themselves. Instead, they scrape it from other sources, including Bing and Yelp. That’s why it’s so important to make sure your information is consistent across different platforms; those that scrape the information can end up with incorrect data.
Thus, to more fully control your business information on Apple Maps, you also need to claim, manage, and monitor your presence on Yelp and Bing.
Troubleshooting Issues with Apple Maps Listings
Unfortunately, there’s very little information about troubleshooting problems with Apple Maps listings. You generally have three options.
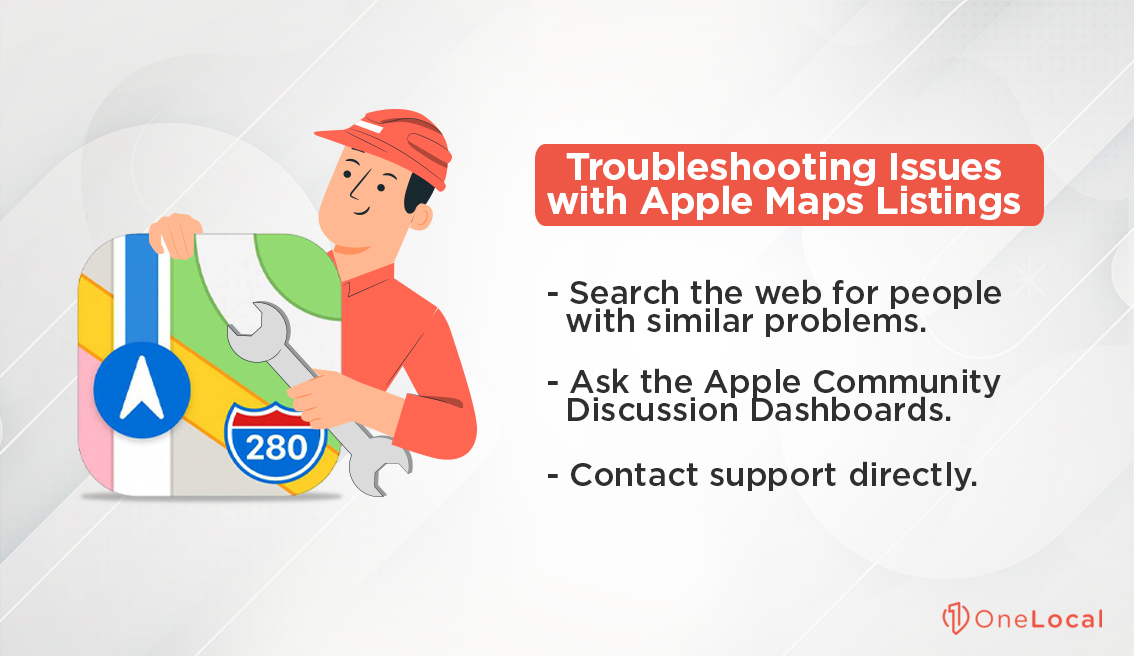
- Search the web for people with similar problems. Sometimes you can find good tutorials and guides, but most of the time, your issues will be so poorly defined that other SEO-focused content overrides it and doesn’t help you.
- Ask the Apple Community Discussion Boards. These boards, found here, are user discussion boards where some Apple Support agents also participate. Sometimes you can get a decent response here, but most of the time, you will be given basic information on how to do what you’re trying to do and then a request to contact support directly.
- Contact support directly. Most of the time, this is going to be your best bet.
Our best recommendation is to work with a company like us. We’re experienced in handling the process for claiming and optimizing an Apple Maps listing, including the process of going through Bing and Yelp, as well as other profile sites, to ensure correct information for your business.
While Apple Maps might not be the powerhouse that Google Business Profiles are, and they aren’t as accessible to reviews and user engagement as platforms like Yelp, they are still a significant segment of the population: that is, everyone who uses an iPhone as their primary map and navigation tool. Additionally, anyone who uses Siri for voice commands will go through Apple, and thus, Apple Maps.
On the plus side, Apple Maps listings are much lower maintenance than other platforms because most of their data is pulled from other sources. That means all you need to do is claim, verify, and update your business information so that it’s all accurate. Once that is done, it’s mostly a matter of checking back every month or two to ensure nothing has changed, and you’re good to go.
If you have any additional questions about claiming or adding your business to Apple Maps listings, please feel free to reach out to us to ask those questions. We would love to be able to assist your business however we can.

Rachel Solway is a seasoned marketing professional dedicated to empowering small businesses through innovative marketing strategies. With extensive experience at OneLocal, a leading marketing solutions provider, Rachel’s insights are helping thousands of local businesses navigate the digital landscape.